What Is a Connector?
IDEX Pro offers a great feature called Connectors. Connectors automatically connect emails and newsletters using programs such as Klaviyo, which we will discuss in this article, to easily get your leads into your email list.
These identified leads automatically push into your connector’s selected mail list. The lead information sent to your system will include names, email addresses, and physical addresses. Additionally, the connectors will query your list to prevent any duplicates from being sent.
How to Set Up Your Connector
For this article, we will be using Klaviyo as our connector example. The process is about the same for the other connectors as well, and we will go over those in separate articles.
Step 1:
From your dashboard, select the Configurations tab and select Connectors. You will see a list of many other options. Select the connector you want to connect to. For this example, we are selecting Klaviyo.

Step 2:
After selecting Klaviyo, it will ask you to fill in your Apikey. If you are unsure of where to find that code, click here. Klaviyo has an easy article to guide you through it. You can also select “How to get your connectors information” from the connector page. All the connectors have this option to show you how to find what you need from each individual site.
You will choose the private Apikey with full access.
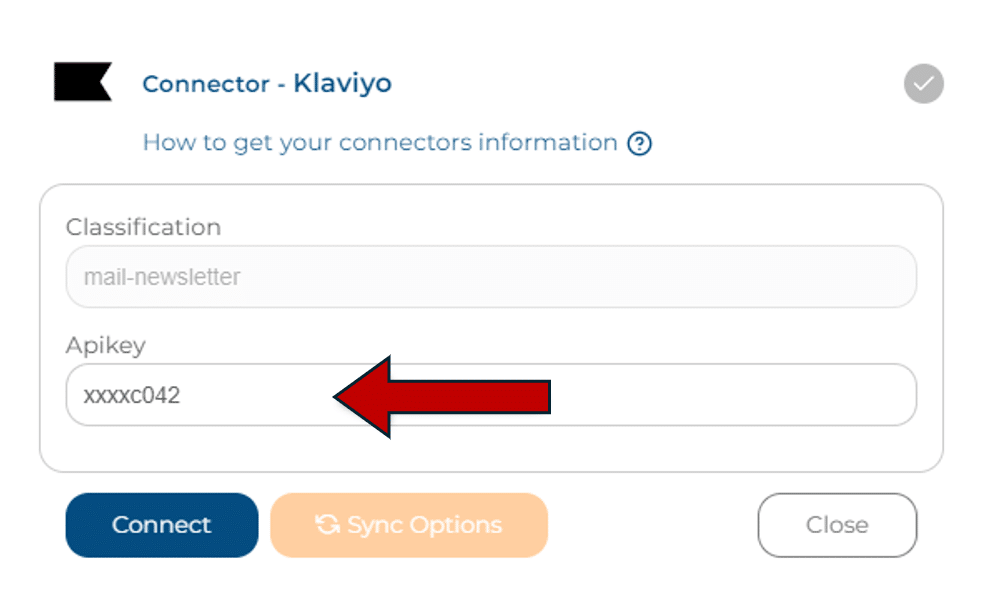
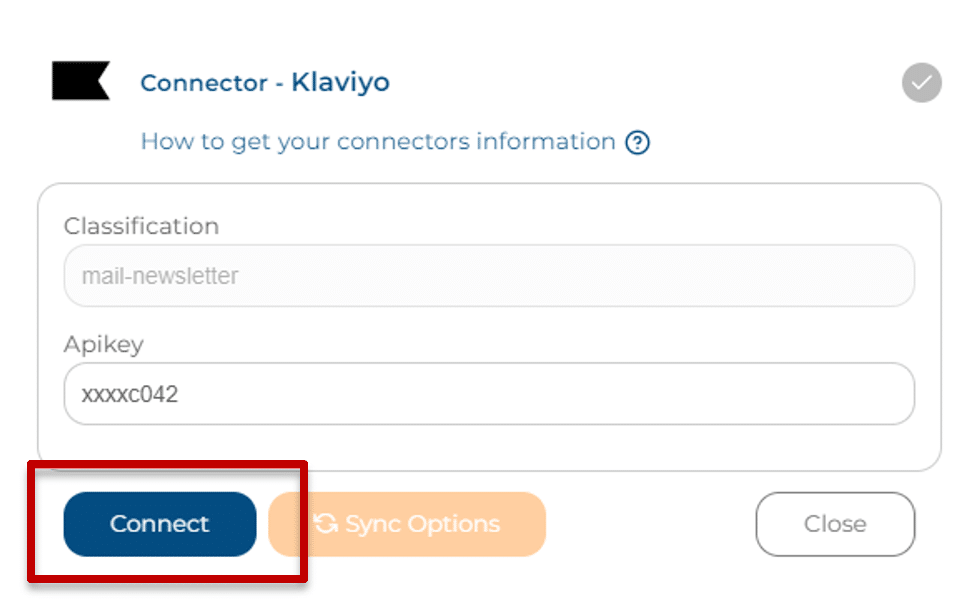
Step 3:
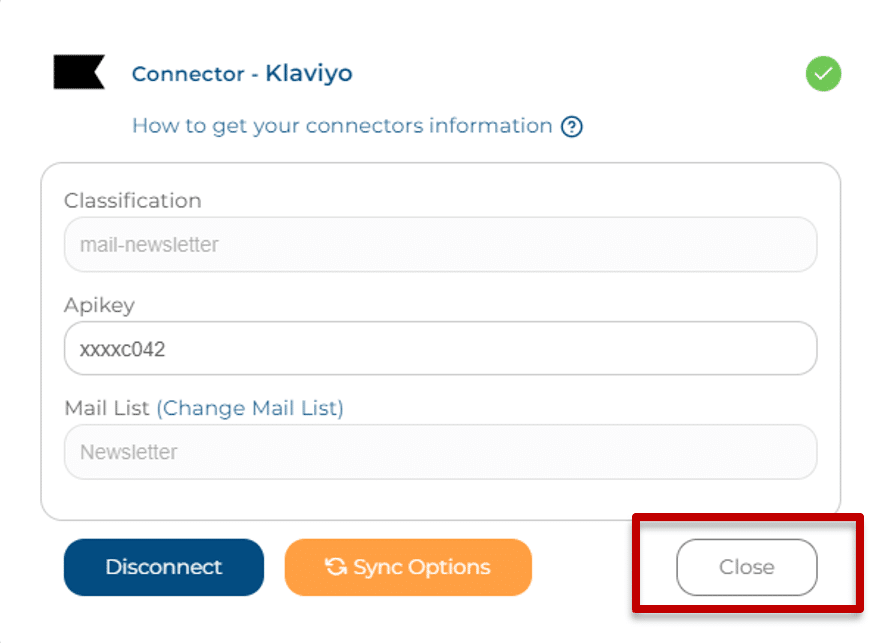
Now that we have figured out where to find our Apikey, it is time to plug it in and hit connect. (We have covered parts of our Apikey. You should see a long code of numbers, letters, and symbols in your box.)
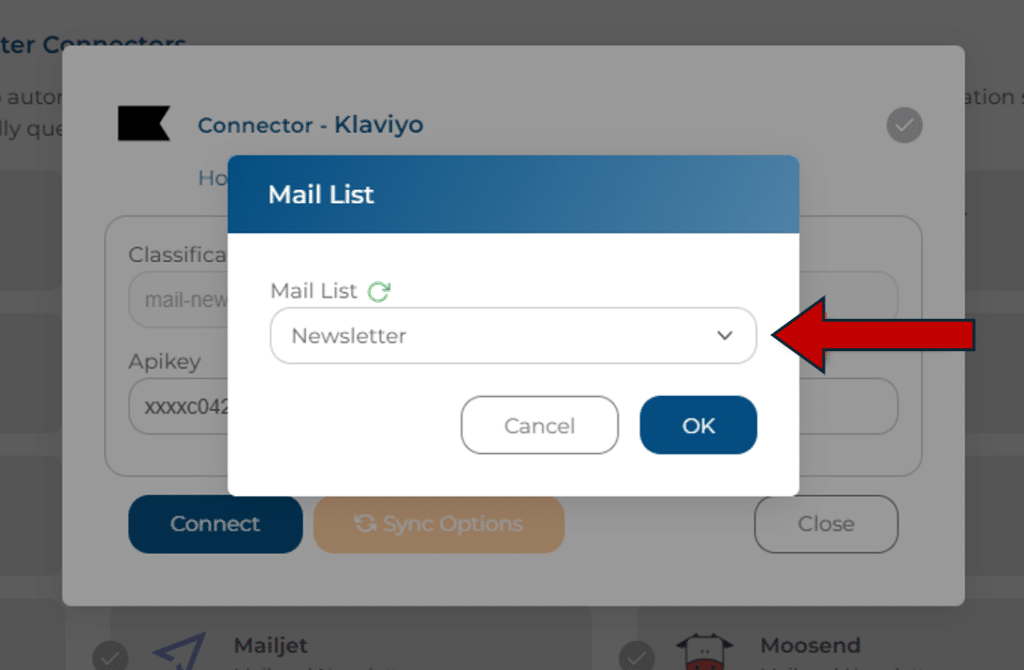
Step 4:
A box will pop up with a drop-down menu for you to select your mailing list. Once your list is selected, hit the ok button.
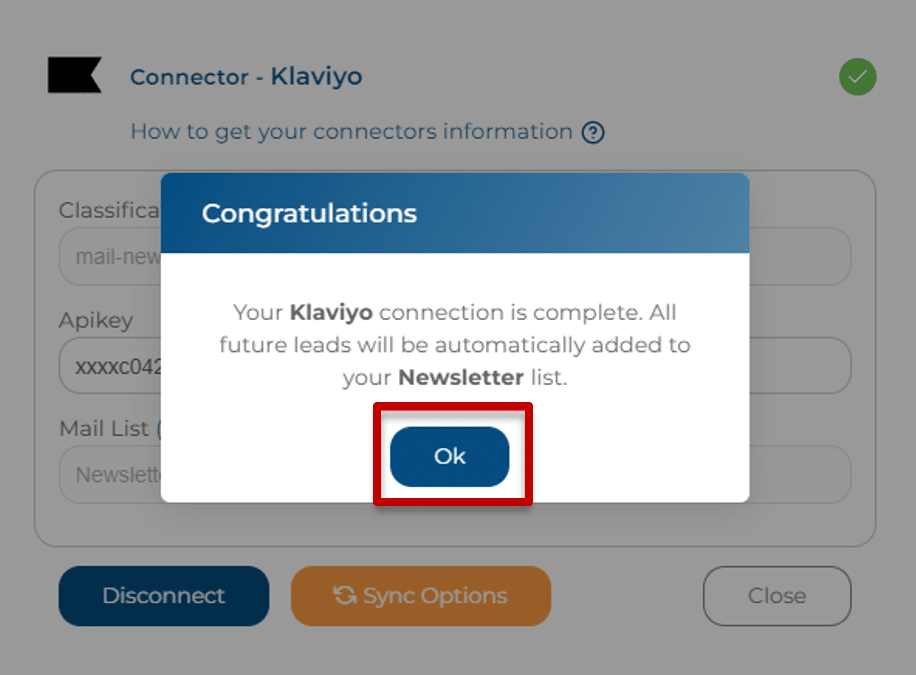
Step 5:
You will have another box pop up confirming that your future leads will be automatically added to the list you selected. If you are happy with where the contacts will be going, hit ok.
Step 6:
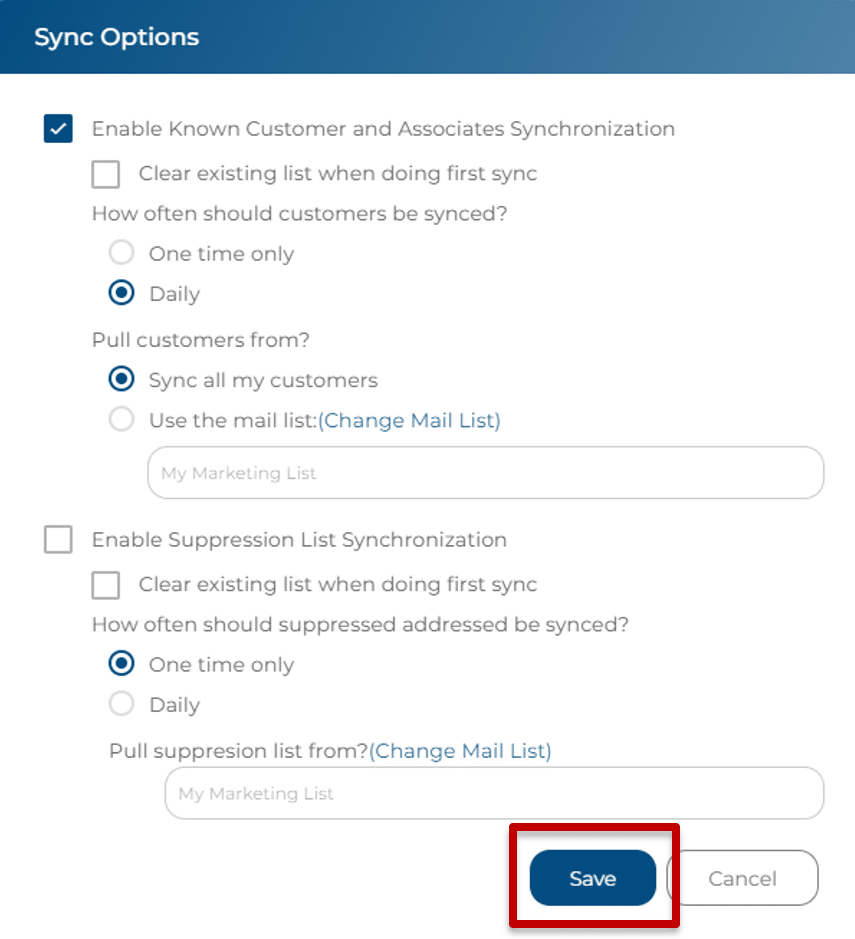
Next is our new Sync Options. This is where you can give access to your Known Customers & Associates List and Suppression List.

Step 7:
Adjust your Sync Options settings to fit your needs. How often do you want the customers to be synced to your lists? Where do you want them to come from? Do you want these on at all?
This will add your mail list audience into your Suppression List(s). Once you have adjusted to your desired settings, hit save.
Your Connector will not send over any duplicates, so if a Known Customer is already in your mail list, it will not be pushed over again.
Step 8:
You will be brought back to the original pop-up box. If everything looks right, select ‘Close.’
Congratulations!
If you see Klaviyo with a green check mark under Active Connectors, you have successfully added your connector. Your identified leads should begin filtering into your mailing list immediately.