
When setting up your Webhook integration, you have the option to send via Make.com if your system does not take a direct Webhook. In the example below, we will walk through how to send information to a Google Sheet in real-time with our Webhook Integration.
Step 1: Open Make in a new tab. Click Create a new scenario.

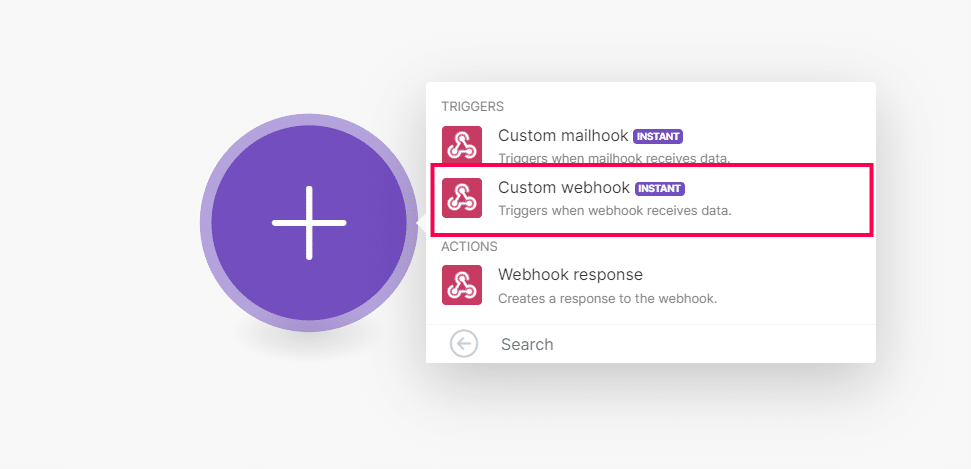
Step 2: Next, select the + icon and search for Webhooks.

Step 3: Choose the Trigger, Custom Webhook.
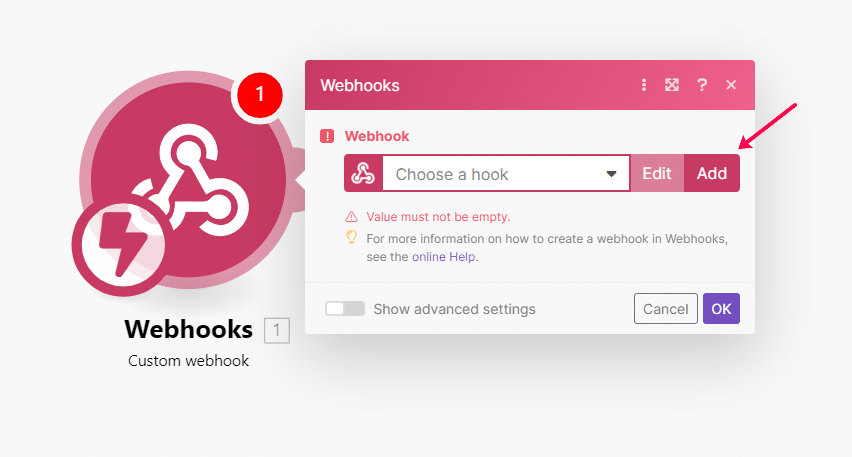
Step 4: Choose an existing hook or create a new one by clicking Add.
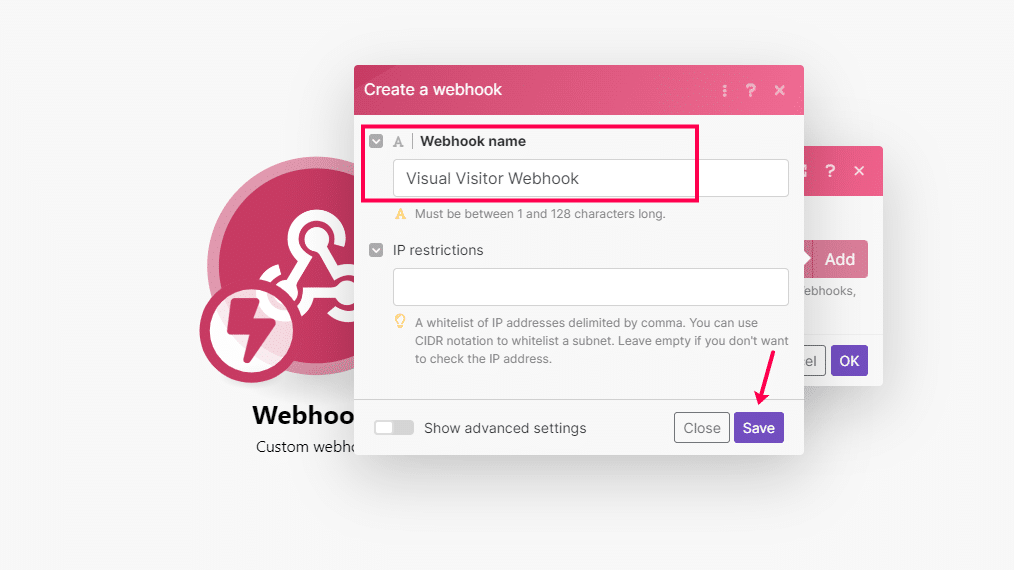
Step 5: Give your Webhook a name and click Save.
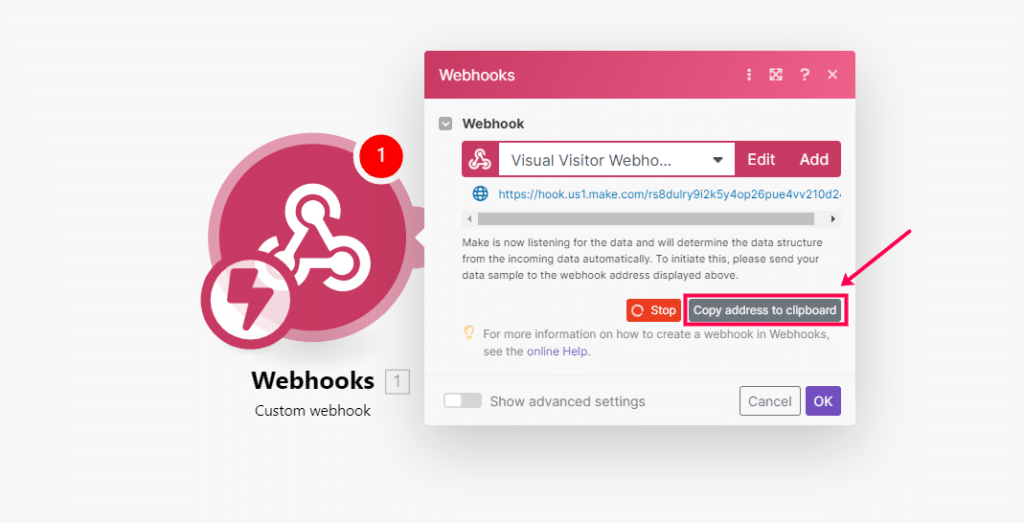
Step 6: Copy the link populated by selecting ‘Copy address to clipboard. We will use this to connect to IDEX Pro.
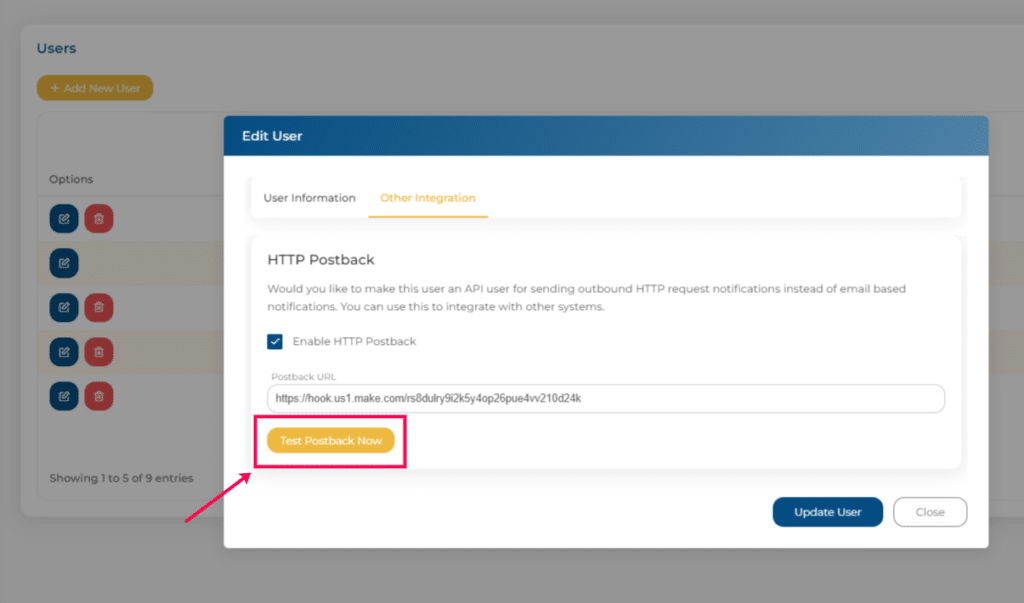
Step 7: Go back to IDEX Pro and add a new user for this integration. Edit that new user by checking the box to enable webhooks and paste the link.
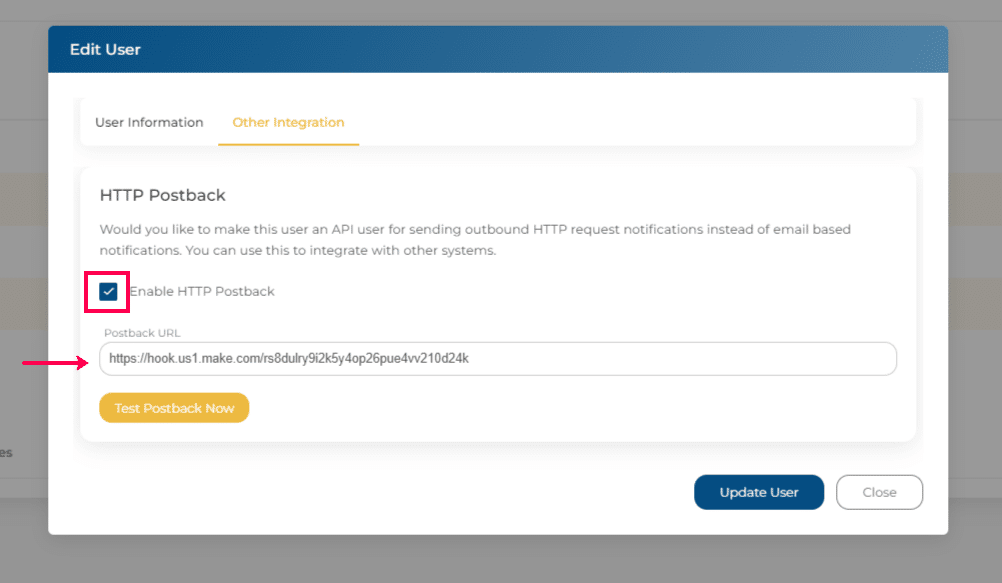
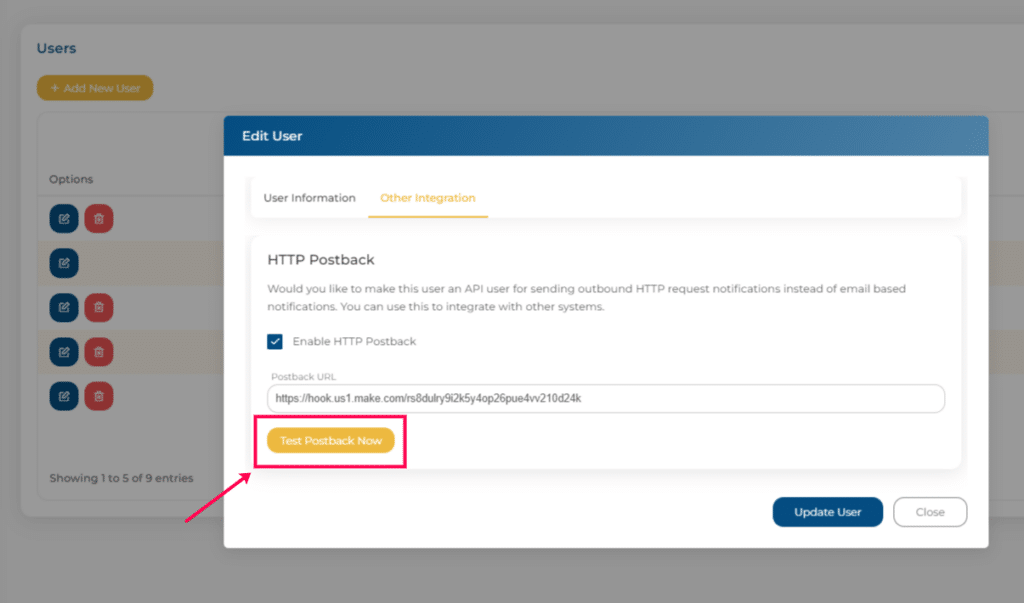
Step 8: Next, click Test Postback Now. Then update the User.
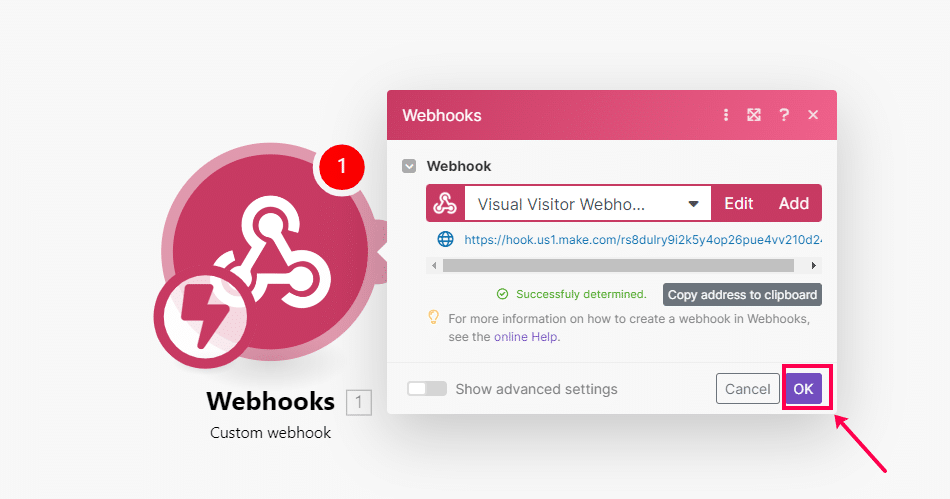
Step 9: Once updated, go back to Make and click OK.
Step 10: Next, ‘Add’ a scenario, and select Google Sheets.
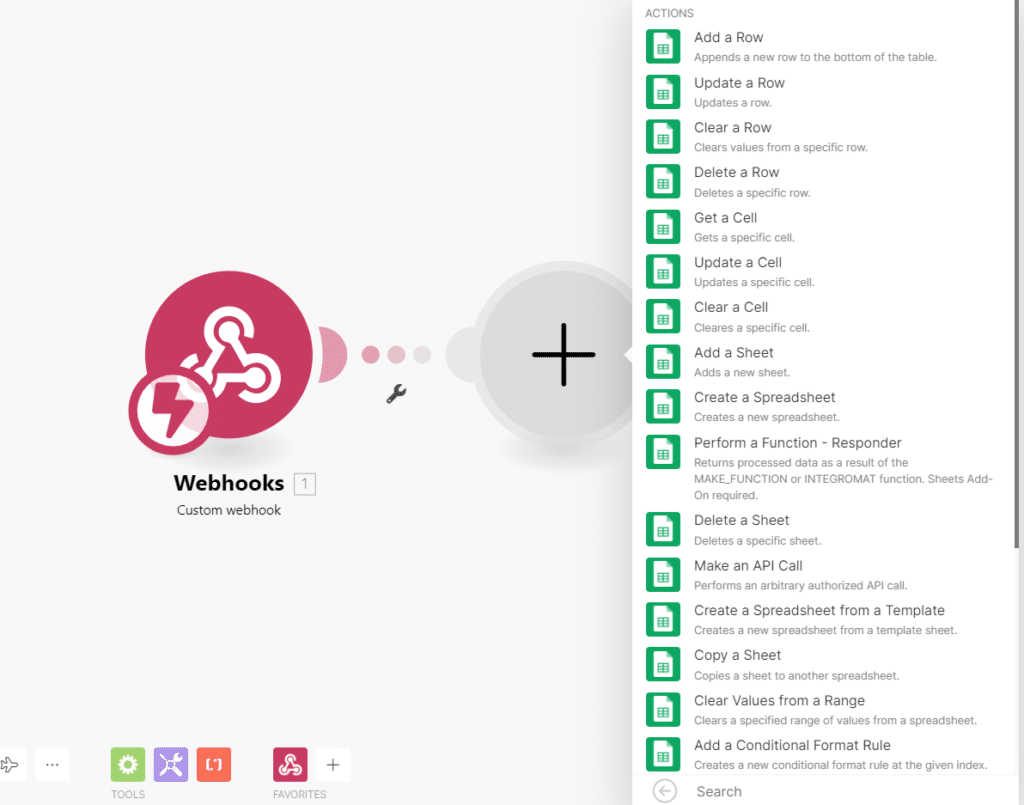
Step 11: For your Acton, in this example, we choose to Add a Row.
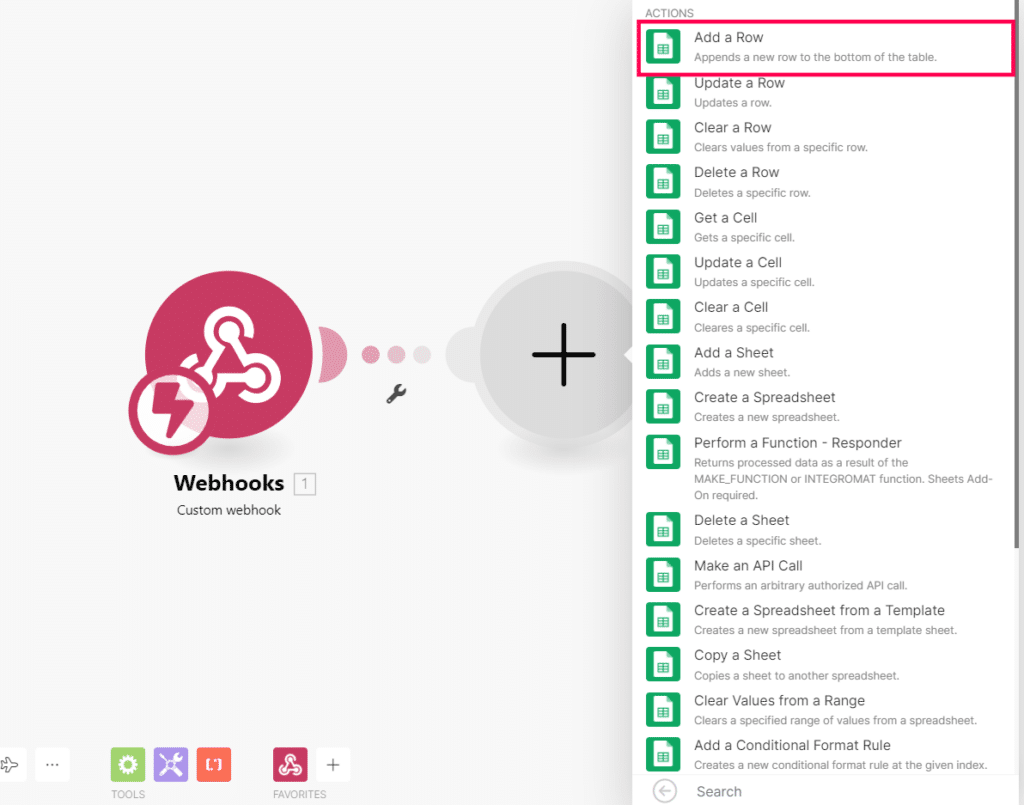
Step 12: Select your Google account (if you haven’t already linked your Google and Make, click “Add”).
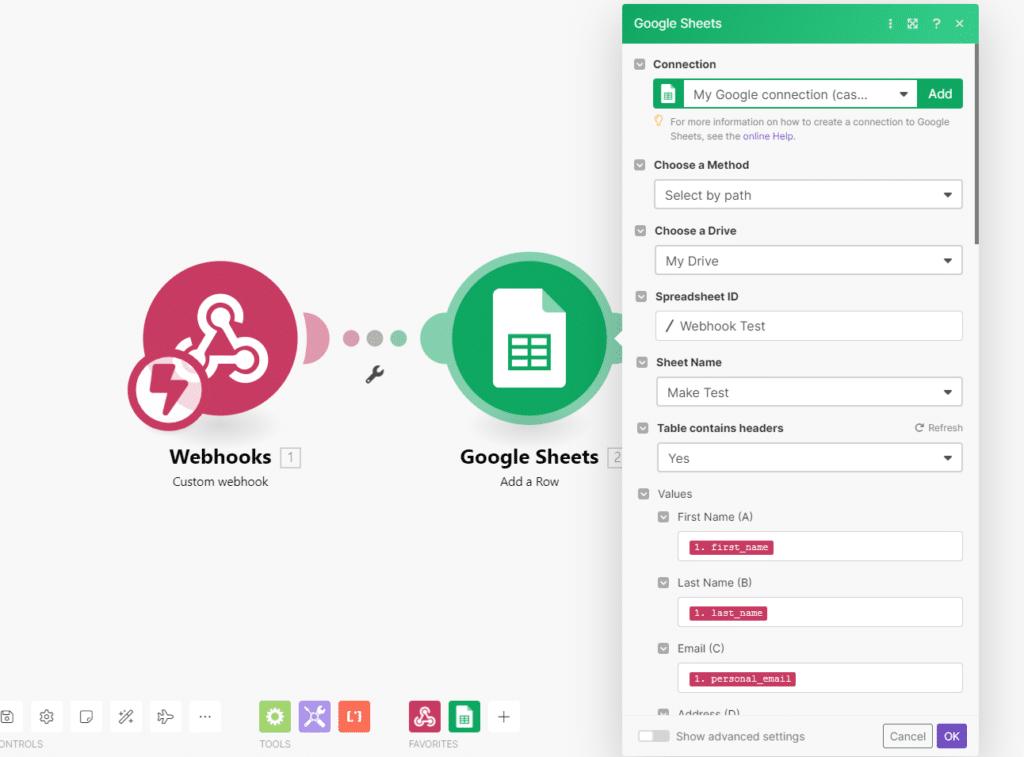
Step 13: After you had added your Google Account, you will be prompted to map your requested Sheet and Fields.
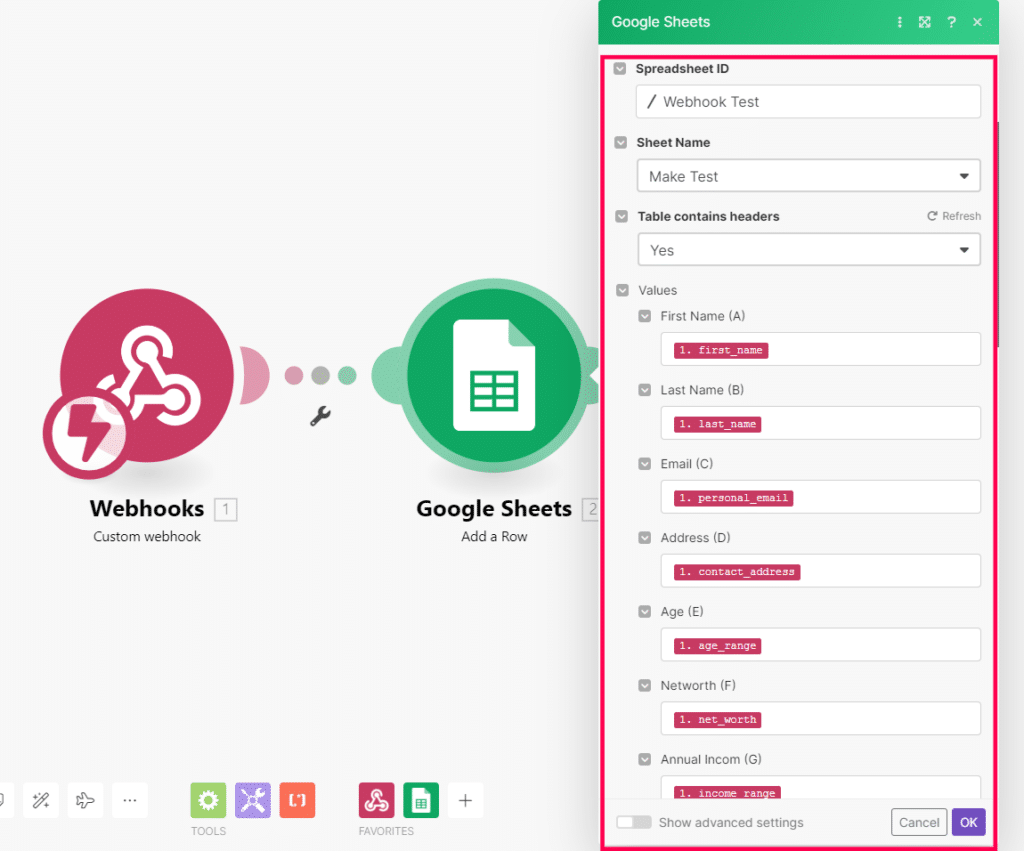
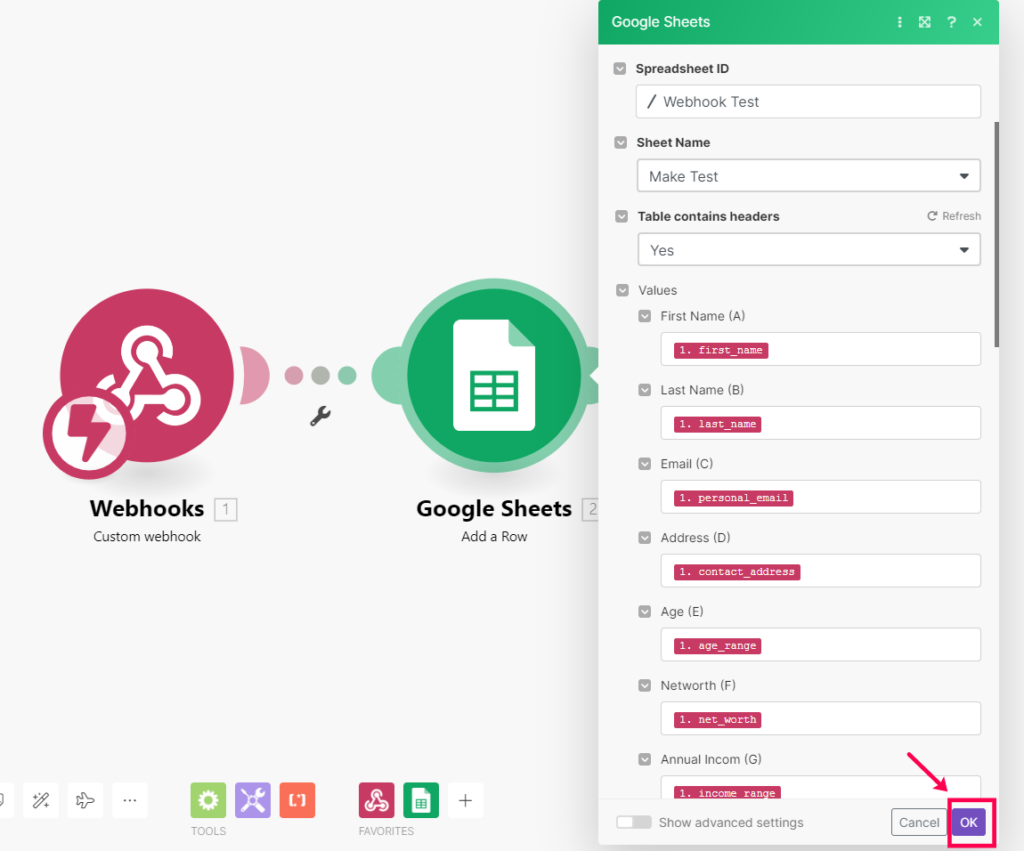
Step 14: Once you have mapped your fields, click OK to Save.
Step 15: After Saving, click on ‘Run once’ to test your Scenario.
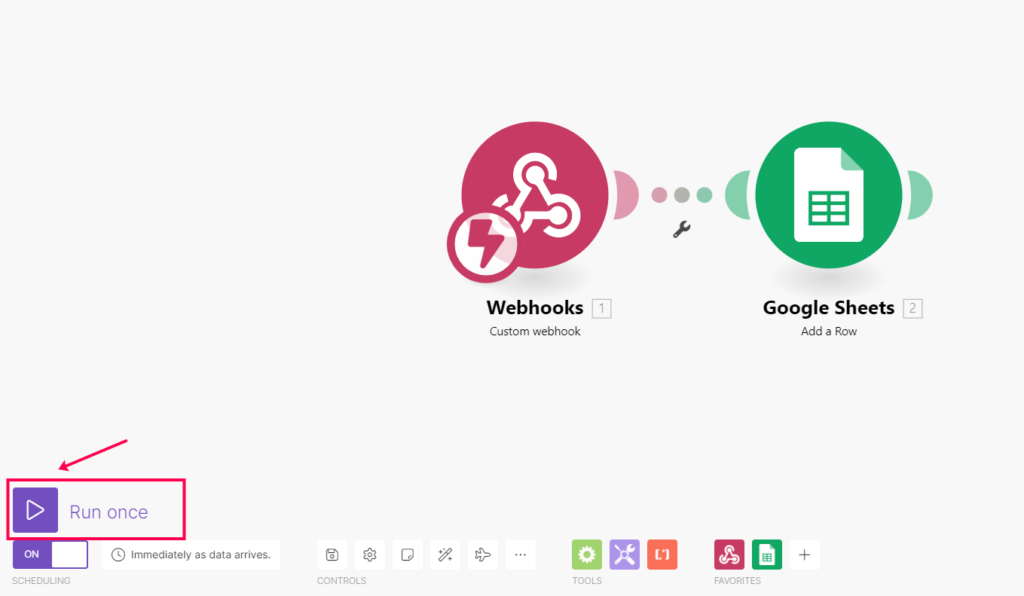
Step 16: While the test is being Run, click back into the User on IDEX Pro and Test Postback Now. This will push data to your sheet.
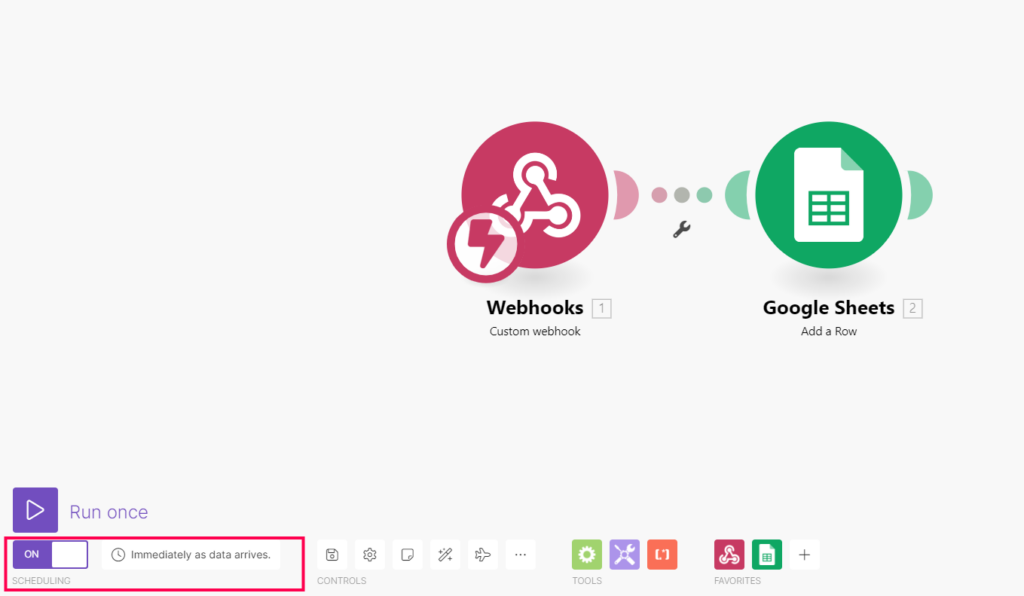
Step 17: Once tested, you can turn on your Scheduling if not done so already and you have completed your integration!
Note – This example is sending data from IDEX Pro to a Google Sheet. You can substitute any Scenario in its place as needed.
Instant email notifications must be turned on to trigger the push.